Pages

Monday, January 27, 2014

♥Tearful Love ♥


This tutorial was written by me on January 27, 2013. Any resemblance to any other tutorial is pure coincidence. Please DO NOT claim this tutorial as your own or post it to any other blog or website without permission from me. It was written for PSP X, but should be compatible with any version of PSP. I wrote it assuming that you have a working knowledge of PSP and it's components. 
SUPPLIES:
Plug-in used
Eye Candy 4000 Gradient Glow For Name (Optional)
Xero porcelain
Filters Unlimited Color Filters
Xero Fritillary
Template by Me you can get it here
Mask Choice
I used the artwork of PinUpToons You have to be licensed to use this
artwork and it can be purchased CDO

*Scrapkit Of Choice*
 I am using the Awesome PTU kit "
  Tearful Love " by  Alikas Scraps
And can be purchased ~ HERE
Thank you Alikas for making such wonderful kits to create with :)
And Check Her other Kits HERE
♥Let Start♥

1.Click on your Strip select all float defloat Open up your AS-Paper13 copy and paste as new layer invert,Duplicate stay on the duplicate
Apply Filters Unlimited Color Filters - Select Sepia and use default setting.Change Opacity to 50, Adjust - Blur - Gaussian Blur - set to 4,Change Blend Mode to Screen,
Apply Xero Fritillary with  these settings below,Add Gradient Glow to your Strip,
FAT white first and then MEDIUM in your choice of color


2.Click on your circle  select all float defloat Open up your AS-Paper13 copy and paste as new layer invert,Duplicate stay on the duplicate
Apply Filters Unlimited Color Filters - Select Sepia and use default setting.Change Opacity to 50, Adjust - Blur - Gaussian Blur - set to 4,Change Blend Mode to Screen,
Apply Xero Fritillary with  these settings before,


3.Click on your Raster1  select all float defloat Open up your AS-Paper11 copy and paste as new layer invert,Duplicate stay on the duplicate
Apply Filters Unlimited Color Filters - Select Sepia and use default setting.Change Opacity to 50, Adjust - Blur - Gaussian Blur - set to 4,Change Blend Mode to Screen,
Open up your Tube copy and paste as new layer resize 60%,Apply Xero porcelain set at 50/128/128/0/0/255,Duplicates
On the duplicated tube layer, adjust, blur, Gaussian Blur set to 5 Layers, properties, change blend mode to screen,Opacity 70
Apply DropShadow Vertical & Horizontal:-0, Opacity 50, Blur 5, Shadow on new layer - unchecked .
4.Click on your circle frame and Copy of circle frame Open up your as64 copy and paste as new layer Invert delete,Apply Inner Bevel with these setting  
setting,


5.Open up your as64 again copy and paste as new layer resize 70%, Duplicates Image Mirror
Apply DropShadow Vertical & Horizontal:-0, Opacity 50, Blur 5, Shadow on new layer - unchecked .


6.Open up your as106 copy and paste as new layer resize 60%,Duplicates,Apply DropShadow Vertical & Horizontal:-0, Opacity 50, Blur 5, Shadow on new layer - unchecked .

7.Open up your as121 copy and paste as new layer resize 40% Apply DropShadow Vertical & Horizontal:-0, Opacity 50, Blur 5, Shadow on new layer - unchecked .

8.Open up your as41 copy and paste as new layer resize 30%,Duplicates,Apply DropShadow Vertical & Horizontal:-0, Opacity 50, Blur 5, Shadow on new layer - unchecked .

9.Open up your as10 copy and paste as new layer resize 30%,Apply DropShadow Vertical & Horizontal:-0, Opacity 50, Blur 5, Shadow on new layer - unchecked .

10.Open up your as37 copy and paste as new layer resize 40%,Apply DropShadow Vertical & Horizontal:-0, Opacity 50, Blur 5, Shadow on new layer - unchecked .

11.Open up your as32 copy and paste as new layer resize 30%,Apply DropShadow Vertical & Horizontal:-0, Opacity 50, Blur 5, Shadow on new layer - unchecked .

12.Open up your as43 copy and paste as new layer resize 30%,Apply DropShadow Vertical & Horizontal:-0, Opacity 50, Blur 5, Shadow on new layer - unchecked .

13.Open up your as99 copy and paste as new layer resize 30%,Apply DropShadow Vertical & Horizontal:-0, Opacity 50, Blur 5, Shadow on new layer - unchecked .

14.Open up your as116 copy and paste as new layer resize 30%,Apply DropShadow Vertical & Horizontal:-0, Opacity 50, Blur 5, Shadow on new layer - unchecked .

15.Open up your as85 copy and paste as new layer resize 30%,Apply DropShadow Vertical & Horizontal:-0, Opacity 50, Blur 5, Shadow on new layer - unchecked .

16.Open up your as86 copy and paste as new layer resize 30%,Apply DropShadow Vertical & Horizontal:-0, Opacity 50, Blur 5, Shadow on new layer - unchecked .


 Add the name and copyright info.

 I hope you enjoyed this tutorial as much as I did creating it for you.
I'd really love to see your results.
Email me!here 

Sunday, January 19, 2014

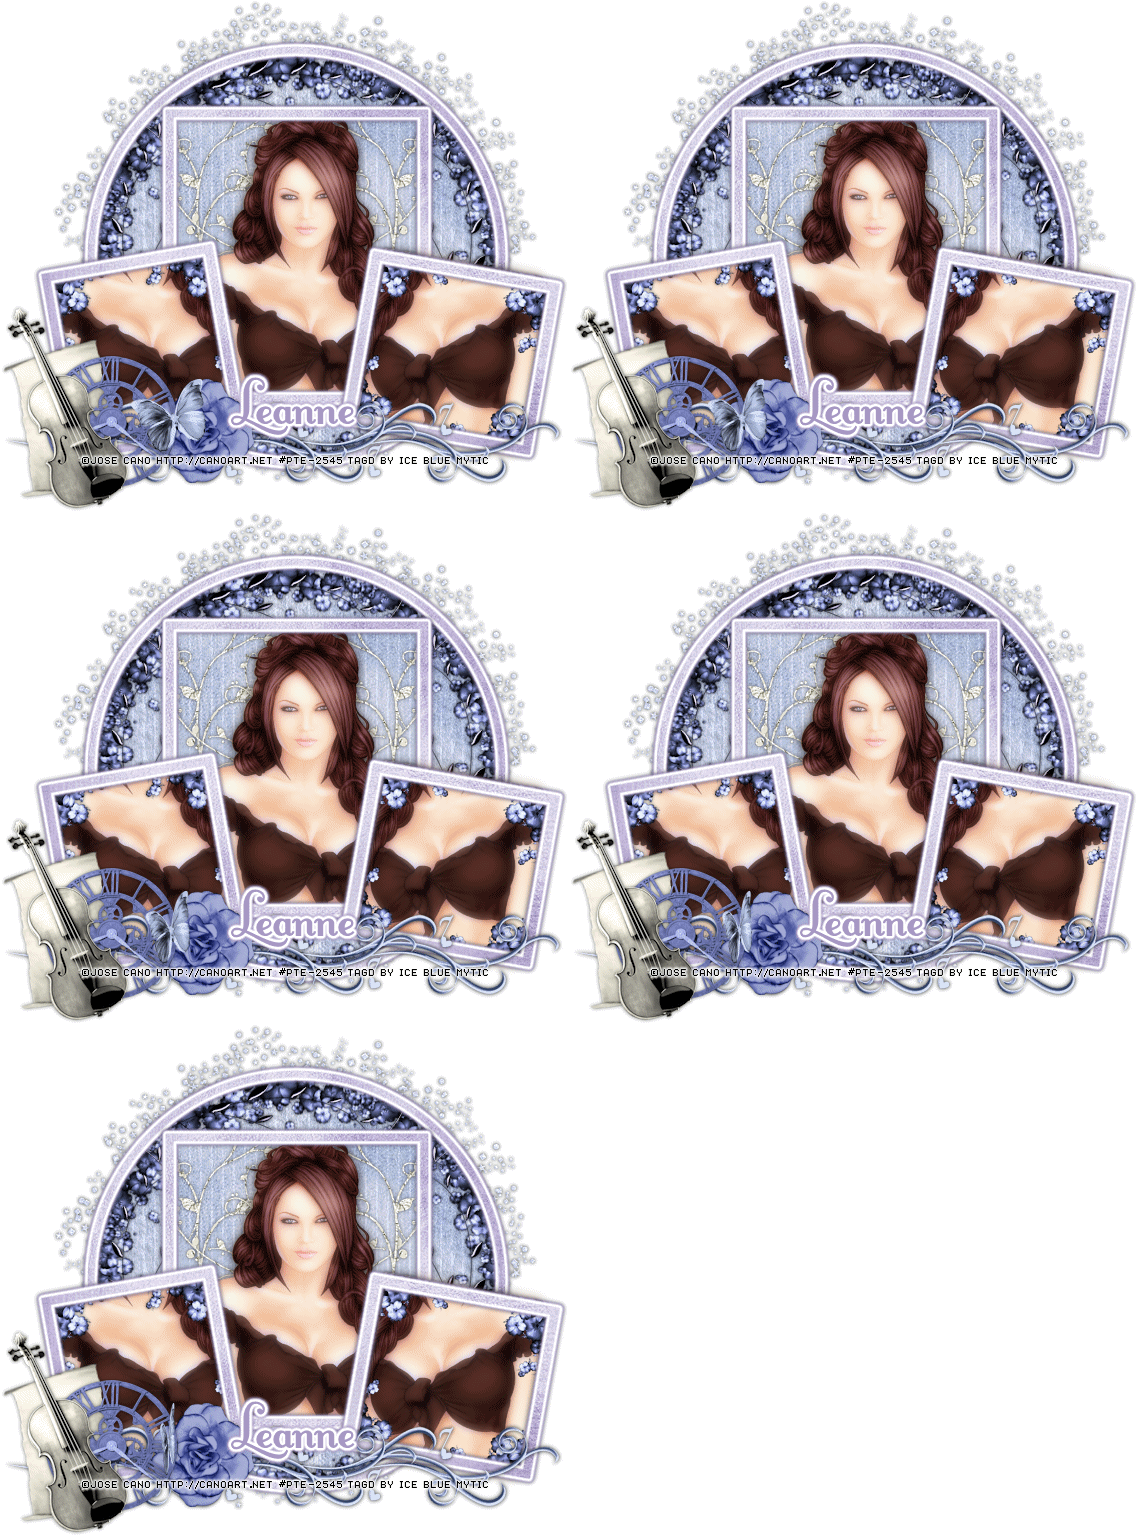
♥Blue-Butterfly♥


 SUPPLIES:
Plug-in used
Eye Candy 4000 Gradient Glow For Name (Optional)
Xero porcelain
PhotoEffex  Scanlines
AAA textures
Template by
Freebie Friends Scraps And More . by Tracy.F Designz -Template17. can be downloaded here

*Scrapkit Of Choice*
 Chasing the Blues Charity Collab - available at Scraps From the Heart
Massive Charity Kit for Honored Scraps.  84 downloads from over 50 designers (over 1 gig of goodies).  CU, Full Size Kits, Tagger Kits and Special Packs
I used the WDD Portion of the kit for this tutorial
*Tube*
I used the artwork of Jose Cano You have to be licensed to use this
artwork and it can be purchased Now he has been at PTE but with them closing August 1, 2012 but you can buy his tube at his site here


1.Open up your wdd_chasingtheblues_elements (33) copy and paste as new Layer resize 60%,
Apply Drop Shadow.Vertical & Horizontal 0, Opacity 50, Blur 5.00, Shadow on new layer - unchecked.duplicates

2.Click on your Circle select all float defloat Open up your wdd_chasingtheblues_papers (8) invert delete
Effects- plugin filters- AAA textures with those settings,PhotoEffex  Scanlines
with setting,


3.Click on your Circle frame select all float defloat Open up your wdd_chasingtheblues_papers (7) invert delete
Add Gradient Glow to your Frame layer,FAT white first and then MEDIUM in your choice of color.

4.Open up your wdd_chasingtheblues_elements (14) copy and paste as new Layer resize 40%
duplicates Image Mirror,Merage down,duplicates Image Free Rotate 90% right, move down under your frame
Layer go your circle elect all float defloat invert delete,
Apply Drop Shadow.Vertical & Horizontal 0, Opacity 50, Blur 5.00, Shadow on new layer - unchecked.

5.Open up your wdd_chasingtheblues_elements (29) copy and paste as new Layer resize 40%
apply Mura meister copies with these setting below, move under you Circle Frame,
go back to circle select all float defloat selections invert delete on your element layer.


6.Click on your rectangle select all float defloat Open up your wdd_chasingtheblues_papers (8) invert delete
Effects- plugin filters- AAA textures with those settings,PhotoEffex  Scanlines
with setting before,

7.Click on your rectangle frame select all float defloat Open up your wdd_chasingtheblues_papers (7) invert delete
Add Gradient Glow to your Frame layer,FAT white first and then MEDIUM in your choice of color.

8.Open up your wdd_chasingtheblues_elements (31) copy and paste as new Layer resize 40%,Duplicates Image Mirror,
merge down go back to your rectangle selections invert delete on your element layer

9.Open up your Tube copy and paste as new layer resize 60%,Apply Xero porcelain set at 50/128/128/0/0/255,Duplicates
On the duplicated tube layer, adjust, blur, Gaussian Blur set to 5 Layers, properties, change blend mode to screen,Opacity 70
Apply DropShadow Vertical & Horizontal:-0, Opacity 50, Blur 5, Shadow on new layer - unchecked .

10.Click on your Circle select all float defloat Open up your wdd_chasingtheblues_papers (8) invert delete
Effects- plugin filters- AAA textures with those settings,PhotoEffex  Scanlines
with setting,

11.Click on your Circle frame select all float defloat Open up your wdd_chasingtheblues_papers (7) invert delete
Add Gradient Glow to your Frame layer,FAT white first and then MEDIUM in your choice of color.

12.Open up your wdd_chasingtheblues_elements (31) copy and paste as new Layer resize 30%,Duplicates Image Mirror,
merge down Duplicates Using your Free Rotate with these setting merge down, then Duplicates Hold thing and Image Mirror,
Sent to top under your Square2 Frame


13.Open up your wdd_chasingtheblues_elements (17) copy and paste as new Layer resize 60%
Apply Drop Shadow.Vertical & Horizontal 0, Opacity 50, Blur 5.00, Shadow on new layer - unchecked

14.Open up your wdd_chasingtheblues_elements (110) copy and paste as new Layer resize 60%
Apply Drop Shadow.Vertical & Horizontal 0, Opacity 50, Blur 5.00, Shadow on new layer - unchecked

15.Open up your wdd_chasingtheblues_elements (115) copy and paste as new Layer resize 60%
Apply Drop Shadow.Vertical & Horizontal 0, Opacity 50, Blur 5.00, Shadow on new layer - unchecked

16.Open up your wdd_chasingtheblues_elements (77) copy and paste as new Layer resize 60%
Apply Drop Shadow.Vertical & Horizontal 0, Opacity 50, Blur 5.00, Shadow on new layer - unchecked

17.Open up your wdd_chasingtheblues_elements (81) copy and paste as new Layer resize 60%
Apply Drop Shadow.Vertical & Horizontal 0, Opacity 50, Blur 5.00, Shadow on new layer - unchecked
 18.Open up your wdd_chasingtheblues_elements(120) take your Freehand go around one betterfly we going Animation it 
 Add the name and copyright info.
 ♥Animation Shop♥
Open Animation Shop Edit Paste As New Animation
Edit Duplicate Selected.Repeat Duplicate Selected 4 more times.You should have 17 frames
Go Back into PSP.Open wdd_chasingtheblues_elements(120),Adjust Sharpness Sharpen.
Edit Copy.Back into Animation Shop.Edit Paste As New Animation
Effects Insert Image Effect, with these settings Animation Frame checked effects length:4.0secs,Frames per second 4fps Effects Compress
Edit > Select All.Edit Copy.On your main canvas Edit Select All.Edit Paste Into Selected Frame.Place the butterfly at the top of your image, or to your liking.
save and we're done

Tuesday, January 14, 2014

♥WinterBlush♥

This tutorial was written by me on January 14, 2013. Any resemblance to any other tutorial is pure coincidence. Please DO NOT claim this tutorial as your own or post it to any other blog or website without permission from me. It was written for PSP X, but should be compatible with any version of PSP. I wrote it assuming that you have a working knowledge of PSP and it's components.
SUPPLIES:
FONT:Mussica Swash
MASK OF CHIOCE
Plug-in used
Eye Candy 4000 Gradient Glow For Name (Optional)
Xero porcelain
Xero Radiance
photeffex scanlines
Alien Skin Eye Candy 5 – Nature – Snow Drift
 dsb-flux bright Noise
*Tube/s of Choice*
I used the artwork of Suzanne Woolcott You have to be licensed to use this
artwork and it can be purchased Now she has been at Suzanne Woolcott but with them closing March 14th 2013 
you will always be able to re-download your purchased tubes from this website. here
*Scrapkit Of Choice*
 I am using the Awesome PTU kit "
Winters Blush" by  Tasha's Playground
And can be purchased ~ HERE
Thank you Tasha for making such wonderful kits to create with :)
And Check Her other Kits HERE
Snow which I supply here thanks bev let use it ;)
Template :
 HorsePlay's Pasture Template 86
1.Click on your Back Center Rectangle select all float defloat modify expand by 5 Open up your Paper5 copy and paste as new layer invert delete,
dsb-flux bright Noise ,with these setting below,

do not delete template layer just not yet, Click on your Back Center Rectangle select all float defloat,
Open up your Paper4 copy and paste as new layer invert delete,Apply PhotoEffex  Scanlines with setting below.
Add Gradient Glow to your Paper5 layer,FAT white first and then MEDIUM in your choice of color.

2.Click on your Left Rectangle And Right Rectangle select all float defloat modify expand by 5 Open up your Paper5 copy and paste as new layer invert delete,
dsb-flux bright Noise ,with these setting before,do not delete template layer just not yet, Click on your Back Center Rectangle select all float defloat,
Open up your Paper4 copy and paste as new layer invert delete,Apply PhotoEffex  Scanlines with setting before.
Add Gradient Glow to your Paper5 layer,FAT white first and then MEDIUM in your choice of color.

3.Open up your Frame6 copy and paste as new Layer,Duplcations Image Mirror,Merge Down,,Duplcations Image Mirror,
Alien Skin Eye Candy 5 – Nature – Snow Drift Width – 6 Under settings select – Dusting Moderate, on both frames,

4.Click on your Frame Back select all float defloat Open up your Paper4 copy and paste as new layer invert delete,
Apply PhotoEffex  Scanlines with setting before.add 10 layers rename them Frame1 to 10 we going open up snow layer copy
and paste into they layer you made

5.Open up your Tube copy and paste as new layer Resize 80%,Apply Xero Radiance with these setting below,
Apply DropShadow Vertical & Horizontal:-0, Opacity 50, Blur 5, Shadow on new layer - unchecked .

6.Open up your snowpile2 copy and paste as new laye back paper 4 layer select all float defloat  go back snow pile invert delete,
Duplicate Image Mirror.Apply DropShadow Vertical & Horizontal:-0, Opacity 50, Blur 5, Shadow on new layer - unchecked .


7.Click on your Frame  select all float defloat Open up your Paper5 copy and paste as new layer invert delete,
dsb-flux bright Noise with setting before Add Gradient Glow to your Frame layer,FAT white first and then MEDIUM in your choice of color.

8.Open up your branches copy and paste as new layer resize 80%,Duplicates Image Flip,

9.Open up your wheel copy and paste as new layer resize 60%.Apply DropShadow Vertical & Horizontal:-0, Opacity 50, Blur 5, Shadow on new layer - unchecked .

10.Open up your berry2 copy and paste as new layer resize 60%.Apply DropShadow Vertical & Horizontal:-0, Opacity 50, Blur 5, Shadow on new layer - unchecked .

11.Open up your snowballs copy and paste as new layer resize 60%.Apply DropShadow Vertical & Horizontal:-0, Opacity 50, Blur 5, Shadow on new layer - unchecked .

 Add the name and copyright info.
♥Animation Shop♥
Copy merged the tag. Open animation shop:
Paste as a new animation and duplicate until you have 10 frames.
then Open up your Animation and select all copy and paste in your Tag,
nimation - Animation Propieties
Change the black color for the color of your choice, mine is white.
Apply and the color will be applied in all the frames selected.
 play the animation and save if you like!♥

Friday, January 10, 2014

♥As the Wind Blows♥

 This tutorial was written by me on January 10, 2013. Any resemblance to any other tutorial is pure coincidence. Please DO NOT claim this tutorial as your own or post it to any other blog or website without permission from me. It was written for PSP X, but should be compatible with any version of PSP. I wrote it assuming that you have a working knowledge of PSP and it's components.
SUPPLIES:
Plug-in used
Eye Candy 4000 Gradient Glow For Name (Optional)
Xero porcelain
PhotoEffex  Scanlines
AAA textures
*Tube/s of Choice*
 I am using the Awesome art of Misticheskaya
And his art can be purchased at ~ HERE
 *Scrapkit Of Choice*
 I am using the Awesome PTU kit "As the Wind Blows by  HorsePlay's Pasture Designs
And can be purchased ~ HERE
Thank you Beverly for making such wonderful kits to create with :)
And Check Her other Kits HERE
Snow which I supply here thanks Beverly let use it ;)
Mask of Choice I use wsl mask 84 here
Animation Shop
This tutorial assumes you have a working knowledge of PSP.

 1.Draw out circle by 400x400 Objects align center of your canvas Duplicates Resize by 80,
Open up your hpd_ATWB_P7 Apply Inner Bevel with setting below.Add Gradient Glow to your Circle,
FAT white first and then MEDIUM in your choice of color.
**Close out your circle one you made**

2.Take your Magic wand click inside your Circle selections modify expand by 8, Open up your hpd_ATWB_P13
selections invert delete, Effects- plugin filters- AAA textures with those settings,PhotoEffex  Scanlines
with setting below, Apply Inner Bevel with setting same setting before, this step you going duplicates
your circle ,take your magic wand click inside your circle selections modify expand by 8, Open up your hpd_ATWB_P17
selections invert delete, Effects- plugin filters- AAA textures with those settings,PhotoEffex  Scanlines
with setting same setting before.


3.Open up your hpd_ATWB_El56 copy and paste as new layer selections invert delete,Duplucates put in your other circle,
this step your going add snow both circles *what i am going to do is make 10 frames for the circles then you can copy
and paste into snow layers for your circles.* Open up your hpd_ATWB_El6 copy and paste as new layer resize 30%
Duplicates Place inside your circle under your Snow layer,

4.Open up your circle They one you made before Resize by 110% that will make you Big circle,
Open up your hpd_ATWB_P7 Apply Inner Bevel with setting below.Add Gradient Glow to your Circle,
FAT white first and then MEDIUM in your choice of color.

5.Take your Magic wand click inside your Circle selections modify expand by 8, Open up your hpd_ATWB_P13
selections invert delete, Effects- plugin filters- AAA textures with those settings,PhotoEffex  Scanlines
with setting below, Apply Inner Bevel with setting same setting before,

6.Open up your hpd_ATWB_El56 copy and paste as new layer selections invert delete,
this step your going add snow both circles *what i am going to do is make 10 frames for the circles then you can copy
and paste into snow layers for your circles.* Open up your hpd_ATWB_El6 copy and paste as new layer resize 30%
Duplicates Place inside your circle under your Snow layer,Open up your Tube copy and paste as new layer resize 60%
selections invert delete,Apply Xero porcelain set at 50/128/128/0/0/255,Duplicates
On the duplicated tube layer, adjust, blur, Gaussian Blur set to 5 Layers, properties, change blend mode to screen,
Apply DropShadow Vertical & Horizontal:-0, Opacity 50, Blur 5, Shadow on new layer - unchecked .

7.Open up your hpd_ATWB_El76 copy and paste as new layer Duplicates Image Mirror,
Apply DropShadow Vertical & Horizontal:-0, Opacity 50, Blur 5, Shadow on new layer - unchecked .

8.Open up your hpd_ATWB_El32 copy and paste as new layer resize 70%,
Apply DropShadow Vertical & Horizontal:-0, Opacity 50, Blur 5, Shadow on new layer - unchecked .

9.Open up your hpd_ATWB_El34 copy and paste as new layer resize 60%,
Apply DropShadow Vertical & Horizontal:-0, Opacity 50, Blur 5, Shadow on new layer - unchecked .

10.8.Open up your hpd_ATWB_El65 copy and paste as new layer resize 70%,
Apply DropShadow Vertical & Horizontal:-0, Opacity 50, Blur 5, Shadow on new layer - unchecked .

11.Open up your hpd_ATWB_El26 copy and paste as new layer resize 70%,
Apply DropShadow Vertical & Horizontal:-0, Opacity 50, Blur 5, Shadow on new layer - unchecked .


Add the name and copyright info.
♥Animation Shop♥
Copy merged the tag. Open animation shop:
Paste as a new animation and duplicate until you have 10 frames.
then Open up your Animation and select all copy and paste in your Tag,
nimation - Animation Propieties
Change the black color for the color of your choice, mine is white.
Apply and the color will be applied in all the frames selected.
 play the animation and save if you like!♥


Saturday, January 4, 2014

♥Winter Festival♥


 This tutorial was written by me on January 4, 2013. Any resemblance to any other tutorial is pure coincidence. Please DO NOT claim this tutorial as your own or post it to any other blog or website without permission from me. It was written for PSP X, but should be compatible with any version of PSP. I wrote it assuming that you have a working knowledge of PSP and it's components.
SUPPLIES:
Plug-in used
Eye Candy 4000 Gradient Glow For Name (Optional)
Xero porcelain
PhotoEffex  Scanlines
AAA textures
 Alien Skin-Eye Candy 5-Nature-Fire
Scene- Here
Wordart Here
 Animation Shop
 Mura meister copies
I used the artwork of Keith Gravey You have to be licensed to use this
artwork and it can be purchased Now he has been at PTE but with them closing August 1, 2012 but you can buy his tube at his site here 
*Scrapkit Of Choice*
 I am using the Awesome PTU kit "
  Dashing Through The Snow" by  Alikas Scraps
And can be purchased ~ HERE
Thank you Alikas for making such wonderful kits to create with :)
And Check Her other Kits HERE
 ♥Let Start♥
1.Draw out circle by 400x400 Objects align center of your canvas Duplicates Resize by 80,
Open up your as50 apply Mura meister copies with these setting below, then go your circle
take your magic wand click inside out part, selections modify expand by 4 invert delete.
Apply Inner Bevel with setting below.


then Go to your circle layer Effects- plugin filters- AAA textures with those settings,PhotoEffex  Scanlines
with setting below,


Apply DropShadow Vertical & Horizontal:0, Opacity 50, Blur 5, Shadow on new layer - unchecked then,

2.Draw out Rectangle by 400x400 Objects align center of your canvas Duplicates Resize by 80,
Open up your as50 apply Mura meister copies with these setting before, then go your Rectangle
take your magic wand click inside out part, selections modify expand by 4 invert delete.
Apply Inner Bevel with setting below.
then Go to your circle layer Effects- plugin filters- AAA textures with those settings,PhotoEffex  Scanlines
with setting before,
Apply DropShadow Vertical & Horizontal:0, Opacity 50, Blur 5, Shadow on new layer - unchecked then,

3.Click inside your Rectangle With your magic wand selections Modify expand by 10,Open up your as_paper06
Effects- plugin filters Radiance default setting and Effects- plugin filters- AAA textures with those settings,PhotoEffex  Scanlines
with setting before,

4.Click inside your Circle With your magic wand selections Modify expand by 10,Open up your as_paper06
Effects- plugin filters Radiance default setting, then Open your Winter scene copy and paste as new layer,
selections invert delete,Effects- plugin filters Radiance default setting, Keep selection going add 10 frames of snow

5.Open up your word art thats in supplies you needed copy and paste as new layer resize 70% or 60%,
Effects- plugin filters- AAA textures with those settings,PhotoEffex  Scanlines
with setting before,

6.Open up your Tube copy and paste as new layer resize 60%,Apply Xero porcelain set at 50/128/128/0/0/255,Duplicates
On the duplicated tube layer, adjust, blur, Gaussian Blur set to 5 Layers, properties, change blend mode to screen,
Apply DropShadow Vertical & Horizontal:-0, Opacity 50, Blur 5, Shadow on new layer - unchecked .

7.Open up your as50 copy and paste as new layer resize 60% duplicates Image Mirror move this under tube layer,
Apply DropShadow Vertical & Horizontal:-0, Opacity 50, Blur 5, Shadow on new layer - unchecked .

8.Open up your as09 copy and paste as new layer resize 60% duplicates Image Mirror,
Apply DropShadow Vertical & Horizontal:-0, Opacity 50, Blur 5, Shadow on new layer - unchecked .

9.Open up your as23 copy and paste as new layer resize 60%,Grab your Selection Tool And make a very very small selection at the very top of the Wick,
of candle ,add new Layer 10 of them Like when add 10 frames for snow, rename fire 1 ect,Now use Your Eye Candy Plugin Nature Fire-Use these settings
Fire Direction-90, Column Length 69.18, Frame Width 83, Expansion -8, Waver 0, Turbulence 25, Flame Intensity 58, Soften Edges 17,click Random Seed
Repeat this next 10 layers,

10.Open up your as84 copy and paste as new layer resize 60% Apply DropShadow Vertical & Horizontal:-0, Opacity 50, Blur 5, Shadow on new layer - unchecked ,

11.Open up your as76 copy and paste as new layer resize 60% Apply DropShadow Vertical & Horizontal:-0, Opacity 50, Blur 5, Shadow on new layer - unchecked ,

12.Open up your as63 copy and paste as new layer resize 40% Apply DropShadow Vertical & Horizontal:-0, Opacity 50, Blur 5, Shadow on new layer - unchecked ,

13.Open up your as64 copy and paste as new layer resize 40% Apply DropShadow Vertical & Horizontal:-0, Opacity 50, Blur 5, Shadow on new layer - unchecked ,

Add the name and copyright info.
 ♥Animation Shop♥
Copy merged the tag. Open animation shop:
Paste as a new animation and duplicate until you have 10 frames.
then Open up your Animation and select all copy and paste in your Tag,
nimation - Animation Propieties
Change the black color for the color of your choice, mine is white.
Apply and the color will be applied in all the frames selected.
 play the animation and save if you like!♥
 

Wednesday, January 1, 2014

♥Making Memories♥


 This tutorial was written by me on January 1, 2013. Any resemblance to any other tutorial is pure coincidence. Please DO NOT claim this tutorial as your own or post it to any other blog or website without permission from me. It was written for PSP X, but should be compatible with any version of PSP. I wrote it assuming that you have a working knowledge of PSP and it's components.
SUPPLIES:
Plug-in used
Eye Candy 4000 Gradient Glow For Name (Optional)
Xero porcelain
PhotoEffex  Scanlines
AAA textures
*Tube/s of Choice*
 I am using the Awesome art of |Amy Brown
And his art can be purchased at ~ HERE
 *Scrapkit Of Choice*
 I am using the Awesome PTU kit "MakingMemories by  HorsePlay's Pasture Designs
And can be purchased ~ HERE
Thank you Beverly for making such wonderful kits to create with :)
And Check Her other Kits HERE
Template by MayK's Creations template5 HERE
Snow which I supply here thanks bev let use it ;)
my wordart here

Animation Shop
This tutorial assumes you have a working knowledge of PSP.

1.click on your Photo select all float defloat open up your hpd_MM_P16 copy as new layer invert delete,
Effects- plugin filters- AAA textures with those settings apply. then  Duplicate the merged layer
Go to the original layer Adjust Blur Gaussian Blur  10 PhotoEffex  Scanlines
Apply DropShadow Vertical & Horizontal:0, Opacity 50, Blur 5, Shadow on new layer - unchecked then,
Add new layer 10 them rename them all them frame 1 and 2 ect untill you have 10 frames together.

2.Open up your hpd_MM_El30 copy and paste as new layer under frame layer selections invert delete,
duplicates Image mirror, mover back layer then under snow layer, that you add in step 1.
Apply DropShadow Vertical & Horizontal:0, Opacity 50, Blur 5, Shadow on new layer - unchecked then,

3.Open up your hpd_MM_El32 copy and paste as new layer under frame layer selections invert delete
Apply DropShadow Vertical & Horizontal:0, Opacity 50, Blur 5, Shadow on new layer - unchecked then,

4.Open up your tube copy and paste as new layer invert delete, Apply Xero porcelain set at 50/128/128/0/0/255,Duplicates
On the duplicated tube layer, adjust, blur, Gaussian Blur set to 5 Layers, properties, change blend mode to screen,
Apply DropShadow Vertical & Horizontal:-0, Opacity 50, Blur 5, Shadow on new layer - unchecked

5.click on your Frame select all float defloat open up your hpd_MM_P5
Effects- plugin filters- AAA textures with those settings apply. then Effects- plugin filters- photeffex scanlines with these settings
Apply Inner Bevel with setting below.
Apply DropShadow Vertical & Horizontal:0, Opacity 50, Blur 5, Shadow on new layer - unchecked then,


6.click on your Small Bar select all float defloat open up your hpd_MM_P16,selections invert delete,
modify select selections border with these setting then add new layer flood with
hpd_MM_P5,Effects- plugin filters- AAA textures with those settings apply. then Effects- plugin filters- photeffex scanlines with settings before
Apply DropShadow Vertical & Horizontal:0, Opacity 50, Blur 5, Shadow on new layer - unchecked then,

7.click on your Big Bar select all float defloat open up your hpd_MM_P16,selections invert delete,
modify select selections border with these setting then add new layer flood with
hpd_MM_P5,Effects- plugin filters- AAA textures with those settings apply. then Effects- plugin filters- photeffex scanlines with settings before
Apply DropShadow Vertical & Horizontal:0, Opacity 50, Blur 5, Shadow on new layer - unchecked then,

8.Open up your hpd_MM_El40 copy and paste as new layer duplicates Image Mirror, duplicates Image flip,
Apply DropShadow Vertical & Horizontal:0, Opacity 50, Blur 5, Shadow on new layer - unchecked then,

9.Open up your hpd_MM_El67 copy and paste as new layer duplicates put one up top,
Apply DropShadow Vertical & Horizontal:0, Opacity 50, Blur 5, Shadow on new layer - unchecked then,

10.Open up your hpd_MM_El49 copy and paste as new layer resize 60%x2, duplicates,
Apply DropShadow Vertical & Horizontal:0, Opacity 50, Blur 5, Shadow on new layer - unchecked then,

11.open up my wordart
Add the name and copyright info.
♥Animation Shop♥
Copy merged the tag. Open animation shop:
Paste as a new animation and duplicate until you have 10 frames.
then Open up your Animation and select all copy and paste in your Tag,
nimation - Animation Propieties
Change the black color for the color of your choice, mine is white.
Apply and the color will be applied in all the frames selected.
 play the animation and save if you like!♥